
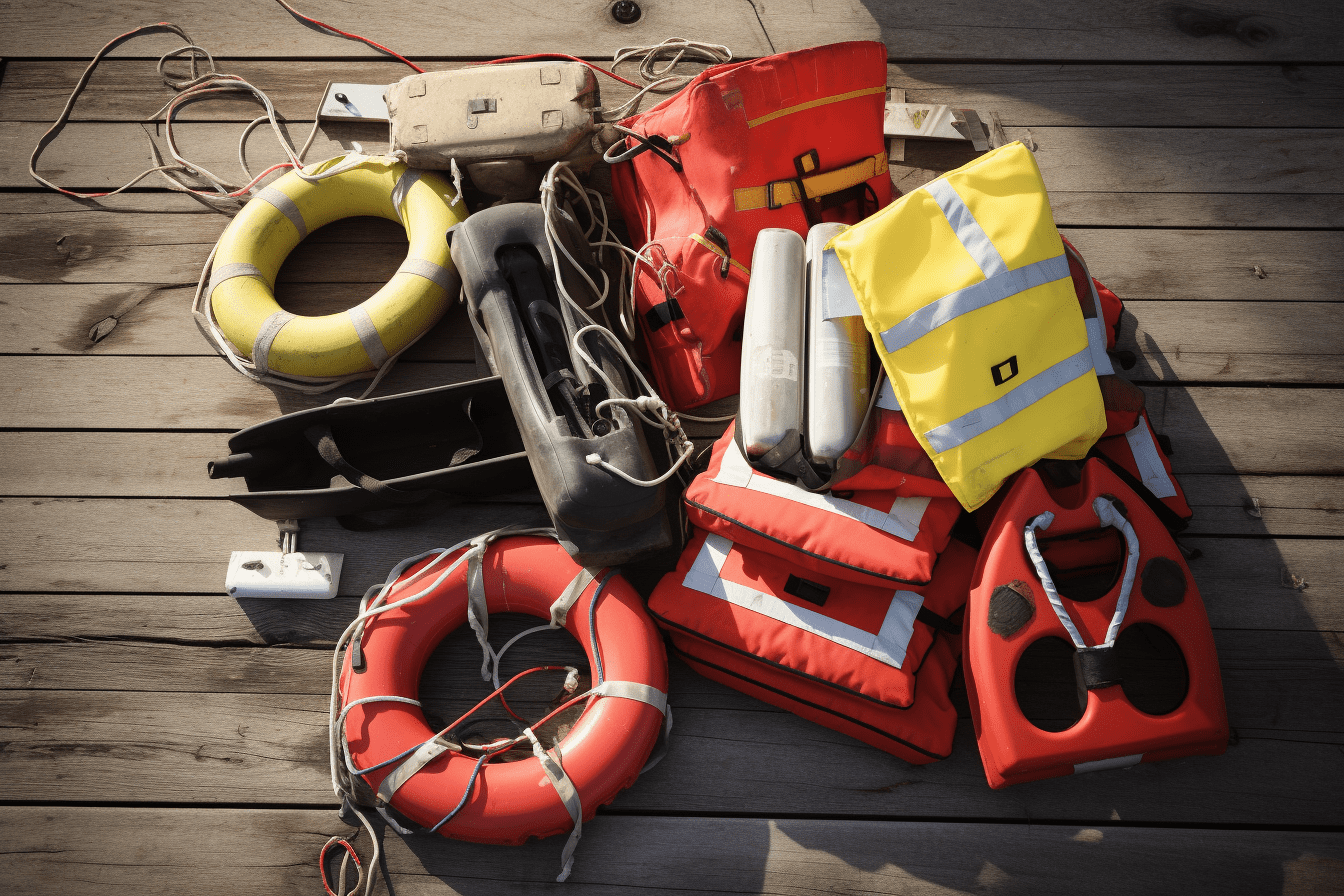
Picture this: you’re out on the open water, basking in the sun and feeling the wind in your hair. The boat beneath you is cutting effortlessly through the waves as you revel in that exhilarating sensation of absolute freedom. But let’s not forget one crucial element ensuring that your aquatic adventure remains a safe one – your lifejacket.
It’s easy to take for granted, but maintaining it properly can mean the difference between an unforgettable day at sea and an unexpected disaster.
You might think there isn’t much to do when it comes to keeping your trusty flotation device shipshape, but you’d be wrong. In fact, there are several steps you should follow regularly to ensure that your lifejacket will perform at its best when needed most.
That’s why we’ve compiled this comprehensive lifejacket maintenance checklist – so that you can keep enjoying those carefree moments on the water with complete peace of mind. Read on and discover how simple yet essential these routine checks can be!
It’s important that your lifejacket is inspected before you use it. This article will show you how to inspect your lifejacket and what to look for. Inspecting a life jacket can help make sure that it will function correctly during an emergency. Keep these inspection tips in mind next time you’re preparing to head out on the water.
How often should life jackets be inspected?
This all depends on the manufactures requirements and your local marine regulation. Check with your life jacket’s manufacturer – typically the information should have been provided with the Life Jacket when it was purchased.
You will also need to check with the government authority in your area. depending on the type of use (commercial or recreational) the regulations will likely be different.
How do you inspect a life jacket?
Generally, most Inflatable life jacket suppliers have self-test forms on their web page. Servicing isn’t a routine check and clean, it requires a higher level of inspection and care. You should make sure you have the necessary knowledge and skill before attempting to self-service your lifejacket. Otherwise, it is recommended that your lifejacket is serviced professionally.
When self-servicing, follow the manufacturer’s instructions carefully and make sure the recharge kit matches your lifejacket. If a service record is available on the inside of the jacket, sign and date the service record with a permanent marker. If this is not available, create your own paper record and keep a copy of it onboard your vessel. An authorised Boating Safety Officer can request to see a record of your lifejacket’s servicing.
The self-servicing of a lifejacket is only valid if the manufacturer permits it, and if all servicing receipts, certificates and/or records are kept. The following video demonstrates how to perform a self-service of your lifejacket (where permitted by the manufacturer).
It’s always a good idea to check you have your PFD’s / Inflatable Lifejackets with you and in a usable state before you set out on the water
But every twelve months it’s more important to check your Lifejacket just for your own piece of mind.
Here we go, 10 simple test steps to perform
Step One- Visual Inspection of the Lifejacket
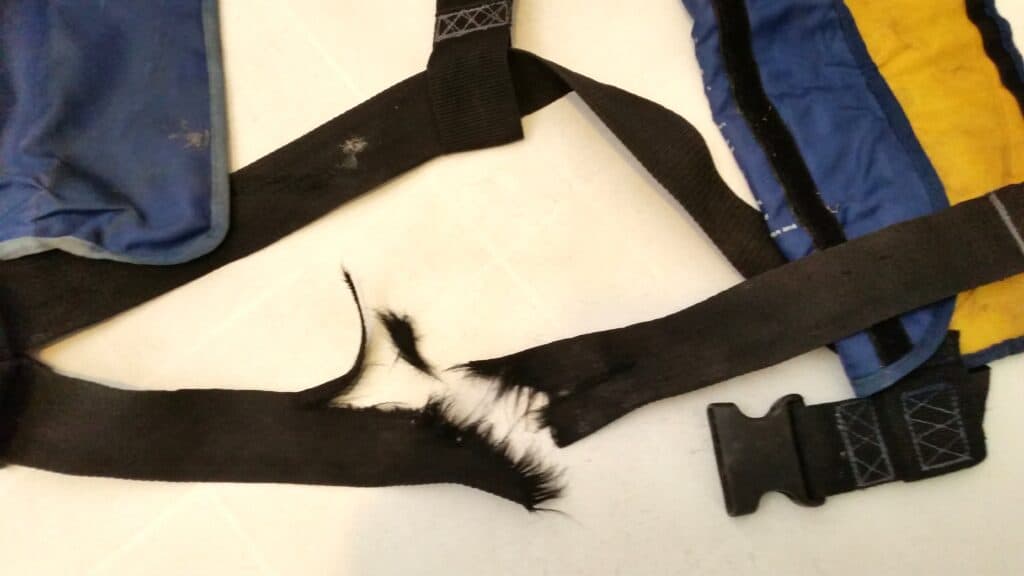
It’s time to dive into the exhilarating world of straps and fastenings. These crucial components are responsible for ensuring a snug fit and keeping you safe in the water. So let’s embrace our inner adventurers and examine strap strength and fastening durability like never before!
- Start by inspecting each strap on your lifejacket for any signs of wear or damage such as fraying, cuts, or discoloration. Remember that being able to rely on these straps is essential when braving the open waters.
- Give special attention to where the straps connect to the lifejacket itself – look out for loose stitching or other indicators that might suggest potential failure points.
- Don’t forget about buckles! Check for cracks, corrosion, Co2 bottle for correct weight and anything else that could compromise their effectiveness.
- Test all zippers to make sure they run smoothly and securely close without getting stuck.
STEPS:
- Open jacket inflator pocket and remove Co2 cylinder and Inspect the bottle for rust or corrosion.
- Check all stitching, buckles and closures to see all are intact and working correctly
- Open jacket and check yellow inner fabric is not damaged
- Check all reflective tape is stuck down and not peeling away
- Check oral inflator tube is not damaged
- If water activated SOLAS Light fitted, Check Exp date and Light is working.
- Check it has a whistle
Step two – Testing the bladder holds air
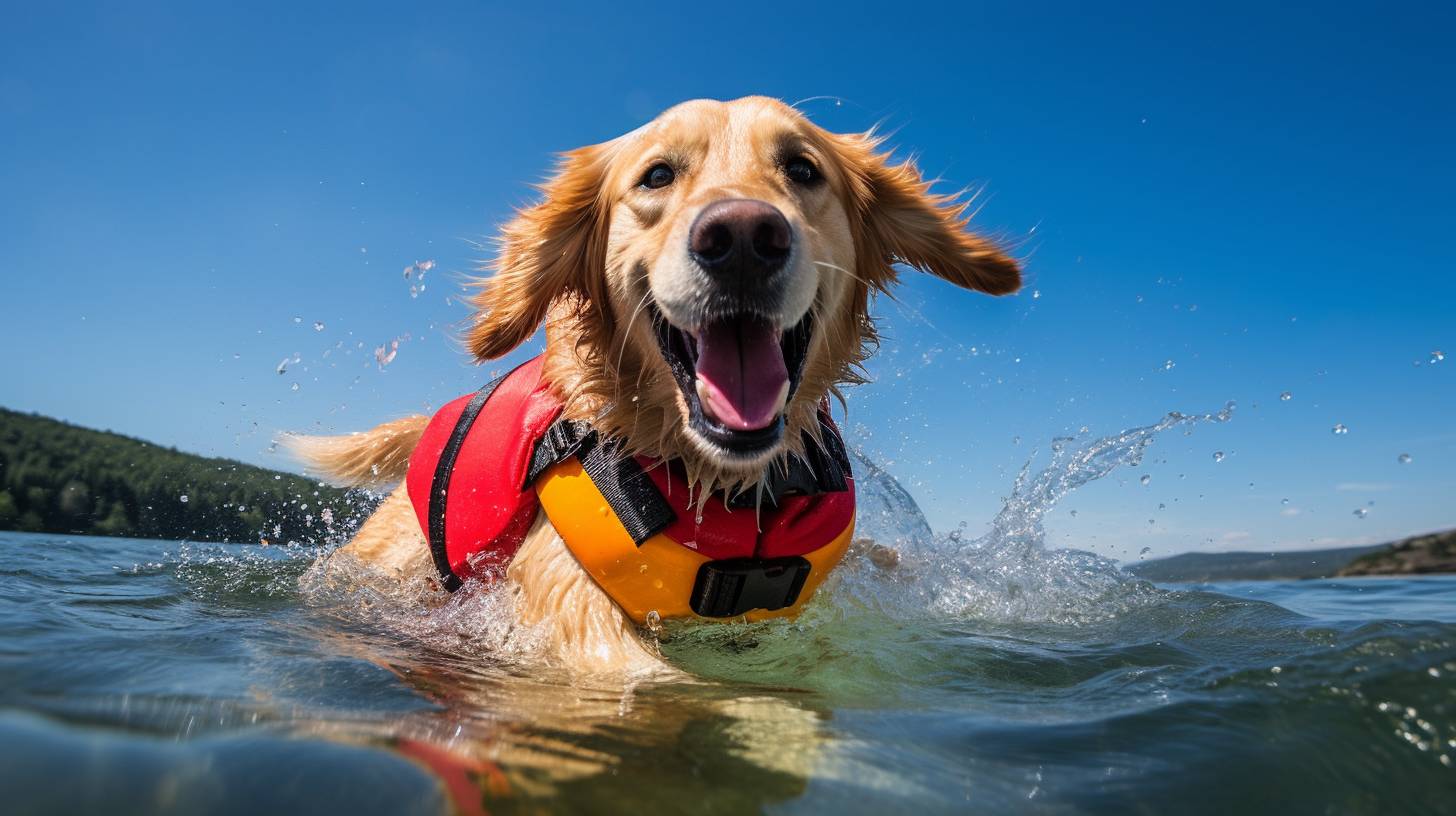
Ironically, despite the fact that you’ve diligently inspected your lifejacket for visible damage and ensured its structural integrity, it could still fail to perform in a crucial moment. There’s no better way to test a lifejacket than by diving headfirst into the world of buoyancy testing and inflation inspection.
After all, what good is a visually perfect lifejacket if it can’t keep you afloat?
Buoyancy testing entails putting on the lifejacket and actually getting into the water, allowing yourself to experience firsthand your equipment’s ability (or lack thereof) to provide adequate flotation. This exhilarating exercise not only verifies that your trusty companion will rise to the occasion but also serves as an invigorating reminder of our innate thirst for liberty – unshackling ourselves from land-bound confinement and embracing aquatic exploration with open arms.
Check out our life jacket buoyancy calculator tool here!
The next step, inflation inspection, speaks directly to those seeking freedom from worry. By manually inflating and deflating the chamber using the oral tube or activating any built-in gas cylinders. You will need a new Co2 if used. Always follow the manufacturer instructions, one can observe and ensure proper functioning before embarking on their watery adventures.
Keep an eye out for any abnormalities such as uneven inflation or slow leaks; these issues may indicate underlying problems requiring further investigation. You will have to send your Inflatable lifejacket to an authorized lifejacket tester just to be sure your lifejacket is in working order.
STEPS:
- Inflate bladder by mouth through oral inflate tube, until bladder is fully inflated and firm.
- Leave bladder inflated overnight or for at least 12 hrs. This should be done in an area of stable temperature. Around 20 deg C is best. If the temp drops overnight it will affect pressure, so make sure the temp remains constant.
- After at least 12 hrs, check that the bladder is still firm and there is no visible loss of pressure.
If your Inflatable Lifejacket or a component fails any test listed below then the Lifejacket must be taken to an authorised service centre for further inspection.
Step Three – Oral Inflator Check
1. Check inflator valve is operating correctly by blowing a small amount of air into the bladder then by inverting the cap in to the oral tube to release the valve, and expel all air, do not put anything into the valve except the inverted cap.
2. Look for any damage or cracks around or on the tube.
Step Four – Co2 Cylinder Inspection
1. Check cylinder is intact and not punctured.
2. Weigh cylinder to ensure that it is full. The cylinder must weight within 2 grams of the gross weight shown on the cylinder. This will need accurate scales that can measure down to 1 gram (supermarket and or post office scales are ideal). If it is not possible to weight cylinder this accurately then the cylinder must by replaced with a new one of the same size / weight..
Record original gross weight and the actual weight on the self-test form. If the cylinder is damaged or weight is lower than gross weight minus 2 grams then cylinder must be replaced.
If cylinder does not conform in any way or has been punctured or If corroded replace the co2 with a new one of the same size.
DO NOT REPLACE CYLINDER ON JACKET YET
Step Five – Manual Firing Mechanism Inspection
(Manual Operated jackets only)
1. Check firing mechanism is working correctly, pull cord and see if cutter pin rises above the internal base of the mechanism.
Step Six – Auto Inflate Mechanism Inspection
(Automatic Operated jackets only)
1. Unscrew anti clockwise the automatic activation cartridge from the bottom of the inflator.
2. Check cartridge is clean and dry.
3. Check expiry date. If expiry date of cartridge is within the next 12 months replace with a new cartridge now.
4. Once all steps above are completed, screw cartridge clockwise onto firing mechanism, making sure all threads are correct, and tighten by light hand force only.
5. Check that the lower indicator on the body of the inflator is now green. If the indicator is red, the cartridge in no good and must be replaced with a new cartridge.
Step Seven – Replace Co2 Cartridge.
1. If jacket and inflator has passed all tests replace cylinder.
2. When fitting cylinder hold mechanism firmly and screw cylinder into it clockwise direction, hand tighten only until firmly into position.
Step Eight – Record Inspection
If your jacket has passed all the self-inspection points required, record with a biro, Donot use a permanent marking pen as the chemical can damage the bladder material.
If the date when you self-test is 14-07-2021 record “S/Test 07 2021” and your initials next to the date on the service label.
Step Nine – Repack your PFD
Ironically, after spending the day keeping you afloat and safe in the water, your lifejacket craves to be pampered with some tender loving care. It’s high time we shift our focus from checking straps and fastenings to ensuring that it stays clean and fresh.
Contrary to popular belief, there is an art to washing your lifejacket. If your lifejacket is fitted with an auto inflate system, this will need to be removed before washing.
Begin by soaking it gently in a mixture of mild detergent or soap and warm water — no harsh chemicals, please! You can use a soft brush or cloth to scrub away dirt, grime, or stains that may have built up over time on its surface. Remember, patience is key; don’t be too rough or forceful during this process. Once satisfied with the cleanliness level achieved, rinse thoroughly using fresh water until all traces of soap disappear like magic. Always place your lifejacket in a shady spot to dry.
Now comes the moment every lifejacket looks forward to: air-drying under the sun’s golden rays. Lay out your trusty flotation device on a flat surface outdoors for optimal exposure while making sure it isn’t scrunched up in any way. Be wary of direct sunlight though – extended periods may cause color fading and material deterioration.
It might take longer than expected but resist the temptation to speed up the process using artificial heat sources like dryers or radiators; they’ll only harm your precious investment more than help it shine anew. So go ahead – give your lifejacket a well-deserved break between adventures while also ensuring you’re ready for future escapades filled with laughter and freedom!
STEPS:
- Repack your PFD ensuring that all the air has been removed from the bladder.
- Ensure that the inflator pull cord is free and not tangled around the bottle.
Step Ten – Complete Self-Test Form
Ensure all information on the self-test form has been completed and that you have signed and dated it. Take note of the date of the next self-test and record it so that you will not forget to test your jacket.
It is a good idea to place this certificate or a copy in your boat in the case that you have an on-water safety inspection. This will be your evidence that your jacket is in a serviceable condition.
Spare Parts
Parts are available from the retail outlet where you purchased your Lifejacket.
During the self-inspection certain replacement parts may be required.
Gas cylinders or automatic firing cartridges may need replacing and mechanism clips.
Scheduled Replacement And Servicing
Just like any other essential safety equipment, lifejackets need scheduled replacement and servicing to ensure their reliability when you need them the most. This is your opportunity to unleash that subconscious desire for freedom by ensuring your lifejacket functions optimally during those adventurous moments on the water. Adhering to a strict schedule will not only provide peace of mind but also grant you the liberty to enjoy your aquatic pursuits without worry.
To help navigate this vital process, here’s a list of key aspects to consider:
- Replacement Frequency: Refer to manufacturer guidelines or recommendations from approved professionals by the manufacturer.
- Inspection: Regularly check for wear and tear, especially before embarking on an excursion.
- Cleaning: Remove dirt and grime periodically with mild soap and freshwater.
- Storage: Store in a cool, dry place away from direct sunlight or extreme temperatures.
- Servicing Professionals: Trust qualified experts for work and component replacements. Please note if the bladder is punctured, the lifejacket will have to be replaced.
- Documentation and Record: Always keep records of all inspection and testing by yourself and by approved professionals.
Your commitment towards diligent maintenance will allow you to indulge in boundless adventures at sea while being secure in knowing that your lifejacket can be relied upon if needed.
What color life jacket should I look for during inspection?
When conducting an inspection of life jackets, it is essential to identify the best color life jacket. The color you should look for may vary depending on your specific context, but it is generally recommended to opt for bright and vibrant colors such as orange or neon yellow. These colors enhance visibility, ensuring better safety in emergency situations on the water.
In Conclusion
Inspecting your life jacket is important for safety! It’s the last thing you want to do when in an emergency situation. We hope this inspection checklist will help you keep your loved ones safe on their next outing. You may also want to inspect any other water sport equipment that needs replacing or is near the expiration date, and replace it with new parts before they expire just in case there are any issues while out at sea. Remember, if all goes well then it was a successful day of boating but we always like to be prepared so everyone can have fun without worrying about their safety first!


Leave a Reply